Glow Shader in Shadertoy
Greetings, friends! Today, we will learn how to make glow effects in shaders using Shadertoy!

What is Glow?
Before we make a glow effect, we need to think about what makes an object look like it's glowing. Lots of objects glow in real life: fireflies, light bulbs, jellyfish, and even the stars in the sky. These objects can generate luminescence or light to brighten up a dark room or area. The glow may be subtle and travel a small distance, or it could be as bright as a full moon, glowing far through the night sky.
In my opinion, there are two important factors for making an object look like its glowing:
- Good contrast between the object's color and the background
- Color gradient that fades with distance from the object
If we achieve these two goals, then we can create a glow effect. Let's begin!
Glowing Circle
We can create a simple circle using a circle SDF:
void mainImage( out vec4 fragColor, in vec2 fragCoord )
{
  vec2 uv = fragCoord/iResolution.xy; // x: <0, 1>, y: <0, 1>
  uv -= 0.5; // x: <-0.5, 0.5>, y: <-0.5, 0.5>
  uv.x *= iResolution.x/iResolution.y; // x: <-0.5, 0.5> * aspect ratio, y: <-0.5, 0.5>

  float d = length(uv) - 0.2; // signed distance value

  vec3 col = vec3(step(0., -d)); // create white circle with black background

  fragColor = vec4(col,1.0); // output color
}
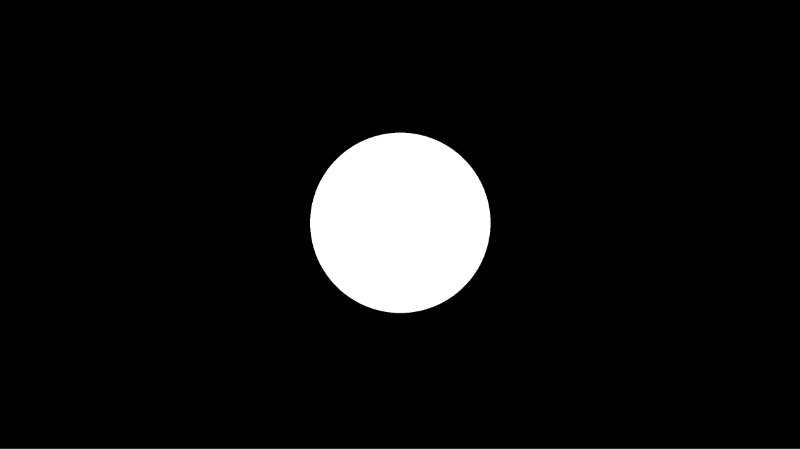
The circle SDF will give us a signed distance value equal to the distance from the center of the circle. Remember, a shader draws every pixel in parallel, and each pixel will be a certain distance away from the center of the circle.
Next, we can create a function that will add glow proportional to the distance away from the center of the circle. If you go to Desmos, then you can enter y = 1 / x to visualize the function we will be using. Let's pretend that x represents the signed distance value for a circle. As it increases, the output, y, gets smaller or diminishes.
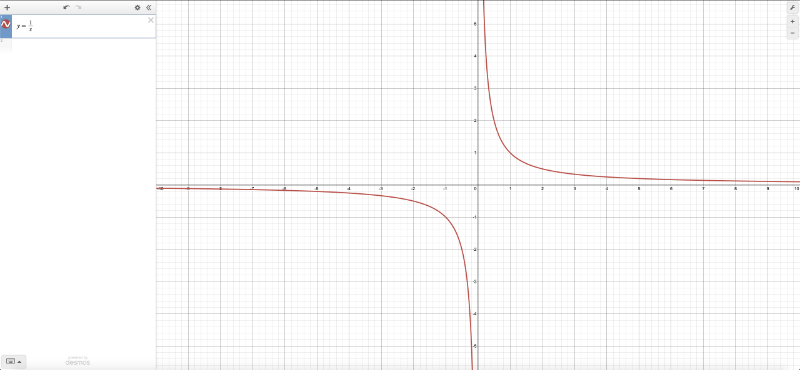
Let's use this function to create glow in our code.
void mainImage( out vec4 fragColor, in vec2 fragCoord )
{
  vec2 uv = fragCoord/iResolution.xy; // x: <0, 1>, y: <0, 1>
  uv -= 0.5; // x: <-0.5, 0.5>, y: <-0.5, 0.5>
  uv.x *= iResolution.x/iResolution.y; // x: <-0.5, 0.5> * aspect ratio, y: <-0.5, 0.5>

  float d = length(uv) - 0.2; // signed distance function

  vec3 col = vec3(step(0., -d)); // create white circle with black background

  float glow = 0.01/d; // create glow and diminish it with distance
  col += glow; // add glow

  fragColor = vec4(col,1.0); // output color
}
When you run this code, you may see weird artifacts appear.
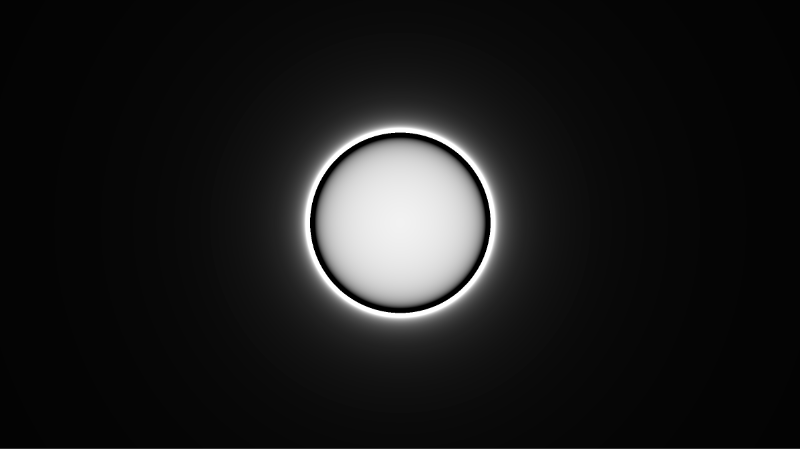
The y = 1/x function may result in unexpected values when x is less than or equal to zero. This can cause the compiler to perform weird calculations that cause unexpected colors. We can use the clamp function to make sure the glow value stays between zero and one.
void mainImage( out vec4 fragColor, in vec2 fragCoord )
{
  vec2 uv = fragCoord/iResolution.xy; // x: <0, 1>, y: <0, 1>
  uv -= 0.5; // x: <-0.5, 0.5>, y: <-0.5, 0.5>
  uv.x *= iResolution.x/iResolution.y; // x: <-0.5, 0.5> * aspect ratio, y: <-0.5, 0.5>

  float d = length(uv) - 0.2; // signed distance function

  vec3 col = vec3(step(0., -d)); // create white circle with black background

  float glow = 0.01/d; // create glow and diminish it with distance
  glow = clamp(glow, 0., 1.); // remove artifacts
  col += glow; // add glow

  fragColor = vec4(col,1.0); // output color
}
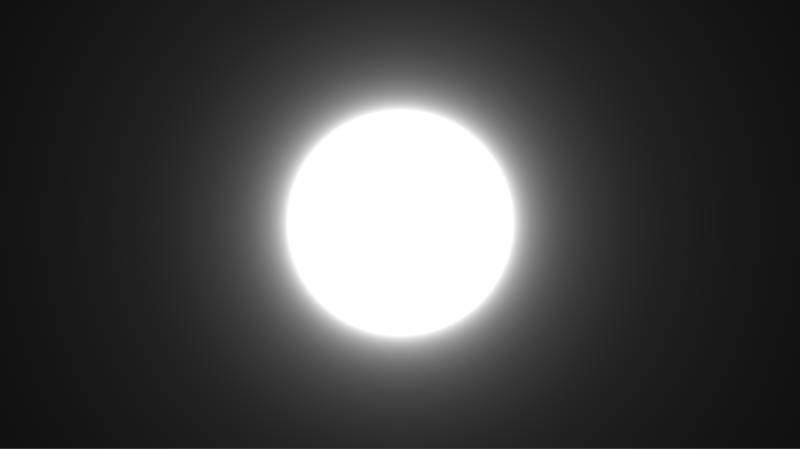
When you run the code, you should see a glowing circle appear!
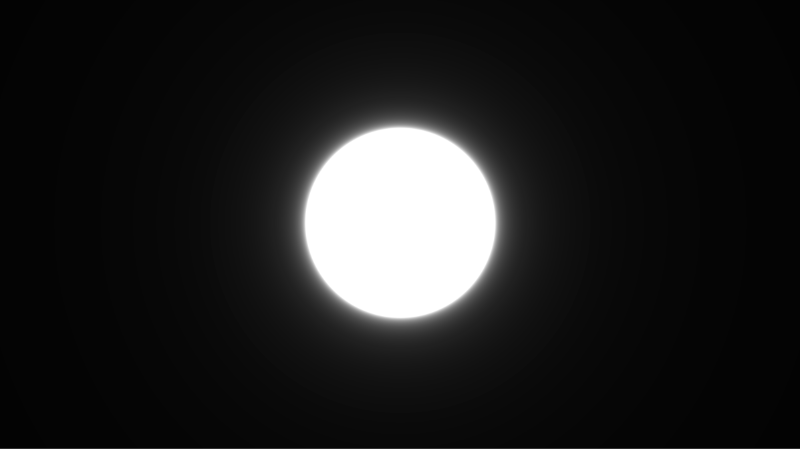
Increasing Glow Strength
You can multiply the glow by a value to make the circle appear even brighter and have the glow travel a larger distance.
void mainImage( out vec4 fragColor, in vec2 fragCoord )
{
  vec2 uv = fragCoord/iResolution.xy; // x: <0, 1>, y: <0, 1>
  uv -= 0.5; // x: <-0.5, 0.5>, y: <-0.5, 0.5>
  uv.x *= iResolution.x/iResolution.y; // x: <-0.5, 0.5> * aspect ratio, y: <-0.5, 0.5>

  float d = length(uv) - 0.2; // signed distance function

  vec3 col = vec3(step(0., -d)); // create white circle with black background

  float glow = 0.01/d; // create glow and diminish it with distance
  glow = clamp(glow, 0., 1.); // remove artifacts

  col += glow * 5.; // add glow

  fragColor = vec4(col,1.0); // output color
}
Glowing Star
We've been using circles, but we can make other shapes glow too! Let's try using the sdStar5 SDF from Inigo Quilez's 2D distance functions. You can learn more about how to use this SDF in Part 5 of my Shadertoy tutorial series.
float sdStar5(vec2 p, float r, float rf)
{
  const vec2 k1 = vec2(0.809016994375, -0.587785252292);
  const vec2 k2 = vec2(-k1.x,k1.y);
  p.x = abs(p.x);
  p -= 2.0*max(dot(k1,p),0.0)*k1;
  p -= 2.0*max(dot(k2,p),0.0)*k2;
  p.x = abs(p.x);
  p.y -= r;
  vec2 ba = rf*vec2(-k1.y,k1.x) - vec2(0,1);
  float h = clamp( dot(p,ba)/dot(ba,ba), 0.0, r );

  return length(p-ba*h) * sign(p.y*ba.x-p.x*ba.y);
}

void mainImage( out vec4 fragColor, in vec2 fragCoord )
{
  vec2 uv = fragCoord/iResolution.xy; // x: <0, 1>, y: <0, 1>
  uv -= 0.5; // x: <-0.5, 0.5>, y: <-0.5, 0.5>
  uv.x *= iResolution.x/iResolution.y; // x: <-0.5, 0.5> * aspect ratio, y: <-0.5, 0.5>

  float d = sdStar5(uv, 0.12, 0.45); // signed distance function

  vec3 col = vec3(step(0., -d));

  col += clamp(vec3(0.001/d), 0., 1.) * 12.; // add glow

  col *= vec3(1, 1, 0);

  fragColor = vec4(col,1.0);
}
When you run the code, you should see a glowing star! 🌟
You can also add a rotate function, similar to what I discussed in Part 3 of my Shadertoy tutorial series, to make the star spin.
vec2 rotate(vec2 uv, float th) {
  return mat2(cos(th), sin(th), -sin(th), cos(th)) * uv;
}

float sdStar5(vec2 p, float r, float rf)
{
  const vec2 k1 = vec2(0.809016994375, -0.587785252292);
  const vec2 k2 = vec2(-k1.x,k1.y);
  p.x = abs(p.x);
  p -= 2.0*max(dot(k1,p),0.0)*k1;
  p -= 2.0*max(dot(k2,p),0.0)*k2;
  p.x = abs(p.x);
  p.y -= r;
  vec2 ba = rf*vec2(-k1.y,k1.x) - vec2(0,1);
  float h = clamp( dot(p,ba)/dot(ba,ba), 0.0, r );

  return length(p-ba*h) * sign(p.y*ba.x-p.x*ba.y);
}

void mainImage( out vec4 fragColor, in vec2 fragCoord )
{
  vec2 uv = fragCoord/iResolution.xy; // x: <0, 1>, y: <0, 1>
  uv -= 0.5; // x: <-0.5, 0.5>, y: <-0.5, 0.5>
  uv.x *= iResolution.x/iResolution.y; // x: <-0.5, 0.5> * aspect ratio, y: <-0.5, 0.5>

  float d = sdStar5(rotate(uv, iTime), 0.12, 0.45); // signed distance function

  vec3 col = vec3(step(0., -d));

  col += clamp(vec3(0.001/d), 0., 1.) * 12.; // add glow

  col *= vec3(1, 1, 0);

  fragColor = vec4(col,1.0);
}
Conclusion
In this tutorial, we learned how to make 2D shapes glow in a shader using signed distance functions (SDFs). We applied contrast between the color of the shape and background color. We also created a smooth gradient around the edges of the shape. These two criteria led to a simulated glow effect in our shaders. If you'd like to learn more about Shadertoy, please check out my Part 1 of my Shadertoy tutorial series.