How to Test a Single File with Jest
Greetings, friends! It's common to use Jest to run all tests/specs in a project. Sometimes, it's nice to run only one file or group of files. In this article, we'll learn multiple strategies for executing npm scripts that will use the Jest CLI to run tests for a single file!
Installing Jest
First, let's create a new directory on our computer. I'll name my new directory jest-single-file-runs.
Inside this directory, I'll initialize a new package.json file using the following command:
npm init -y
Let's now install Jest as a dev dependency:
npm i jest -D
Creating Test Files
Let's create a new directory called add in the root directory. I called my root directory jest-single-file-runs at the beginning of this tutorial. Inside the add directory, we'll create two files: index.js and test.js.
Inside index.js, we'll create a small function that adds two numbers together and exports it:
const add = (a, b) => a + b

module.exports = add
Inside test.js, we'll import the add function and add a few test cases:
const add = require('.')

test('sum equals 2', () => {
  expect(add(1, 1)).toEqual(2)
})

test('sum equals 3', () => {
  expect(add(1, 2)).toEqual(3)
})

test('sum equals 4', () => {
  expect(add(1, 3)).toEqual(4)
})
Next, let's create a new directory called multiply in our root directory. We'll create two files within the multiply directory: index.js and test.js.
Inside index.js, we'll create a small function that multiplies two numbers together and exports it:
const multiply = (a, b) => a * b

module.exports = multiply
Inside test.js, we'll import the multiply function and add a few test cases:
const multiply = require('.')

test('product equals 1', () => {
  expect(multiply(1, 1)).toEqual(1)
})

test('product equals 2', () => {
  expect(multiply(1, 2)).toEqual(2)
})

test('product equals 3', () => {
  expect(multiply(1, 3)).toEqual(3)
})
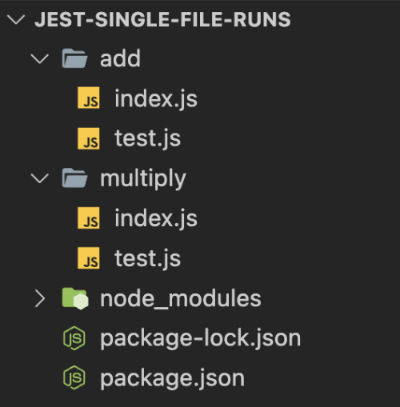
Your directory structure should look similar to the following:
Running All Tests
Now that we have two test files, each containing a few tests, let's run them to make sure everything is working. Go back to your package.json file and replace the test script with the following:
"test": "jest"
Your package.json file should now look similar to the following:
{
  "name": "jest-single-file-runs",
  "version": "1.0.0",
  "description": "",
  "main": "index.js",
  "scripts": {
    "test": "jest"
  },
  "keywords": [],
  "author": "",
  "license": "ISC",
  "devDependencies": {
    "jest": "^29.2.0"
  }
}
Within your terminal, you can now run all the tests within the jest-single-file-runs directory using the command, npm test or npm t as a shortcut. By default, a simple jest command will search your current directory for all files ending in .test.js or .spec.js and run them using the default Jest configuration.
Running Tests from a Single File
It's very common to run all of the specs in a project before committing them to a Git repository. However, it's nice to be able to run only one file or run only one directory full of tests. There are multiple ways we can accomplish this task. I will discuss three different ways.
The first way is by creating a new npm script in our package.json file. We could add the following script:
"test:single": "jest add/test.js"
Then, we can run the following command:
npm run test:single
This will run only the file, test.js, inside the add directory. Alternatively, we could have modified the original test npm script to be the same thing:
"test": "jest add/test.js"
Running npm t would then have the same behavior, but it's tedious to modify npm scripts or add new ones.
The second way to run tests from a single file by using -- to signify the end of options and allows us to pass parameters to an npm script. We can keep the test script the same using this approach.
"test": "jest"
Then, we can run the following command to run only the test.js file in the add directory:
npm t -- add/test.js
This is much more flexible than modifying or creating a new npm script. We can run the following command to run the test.js file in the multiply directory instead:
npm t -- multiply/test.js
A third way of running tests from a single file is by using an environment variable, but this still relies on modifying or adding an npm script. Depending on your project's setup, creating a new script using this approach might make more sense. Let's create a new script in our package.json file:
"test:single": "jest $FILE"
We can run this script by passing an environment variable to it, so Jest runs only that particular file:
FILE=add/test.js npm run test:single
Pretty cool!
Conclusion
In this tutorial, we have learned three different ways of running tests in a single file using Jest. By default, Jest will try to run files that end in .test.js or .spec.js, but we can also pass the name of a file or directory to the Jest CLI to tell it to run only one file instead. Hope this helps improve the developer experience as you're testing new features in your project!